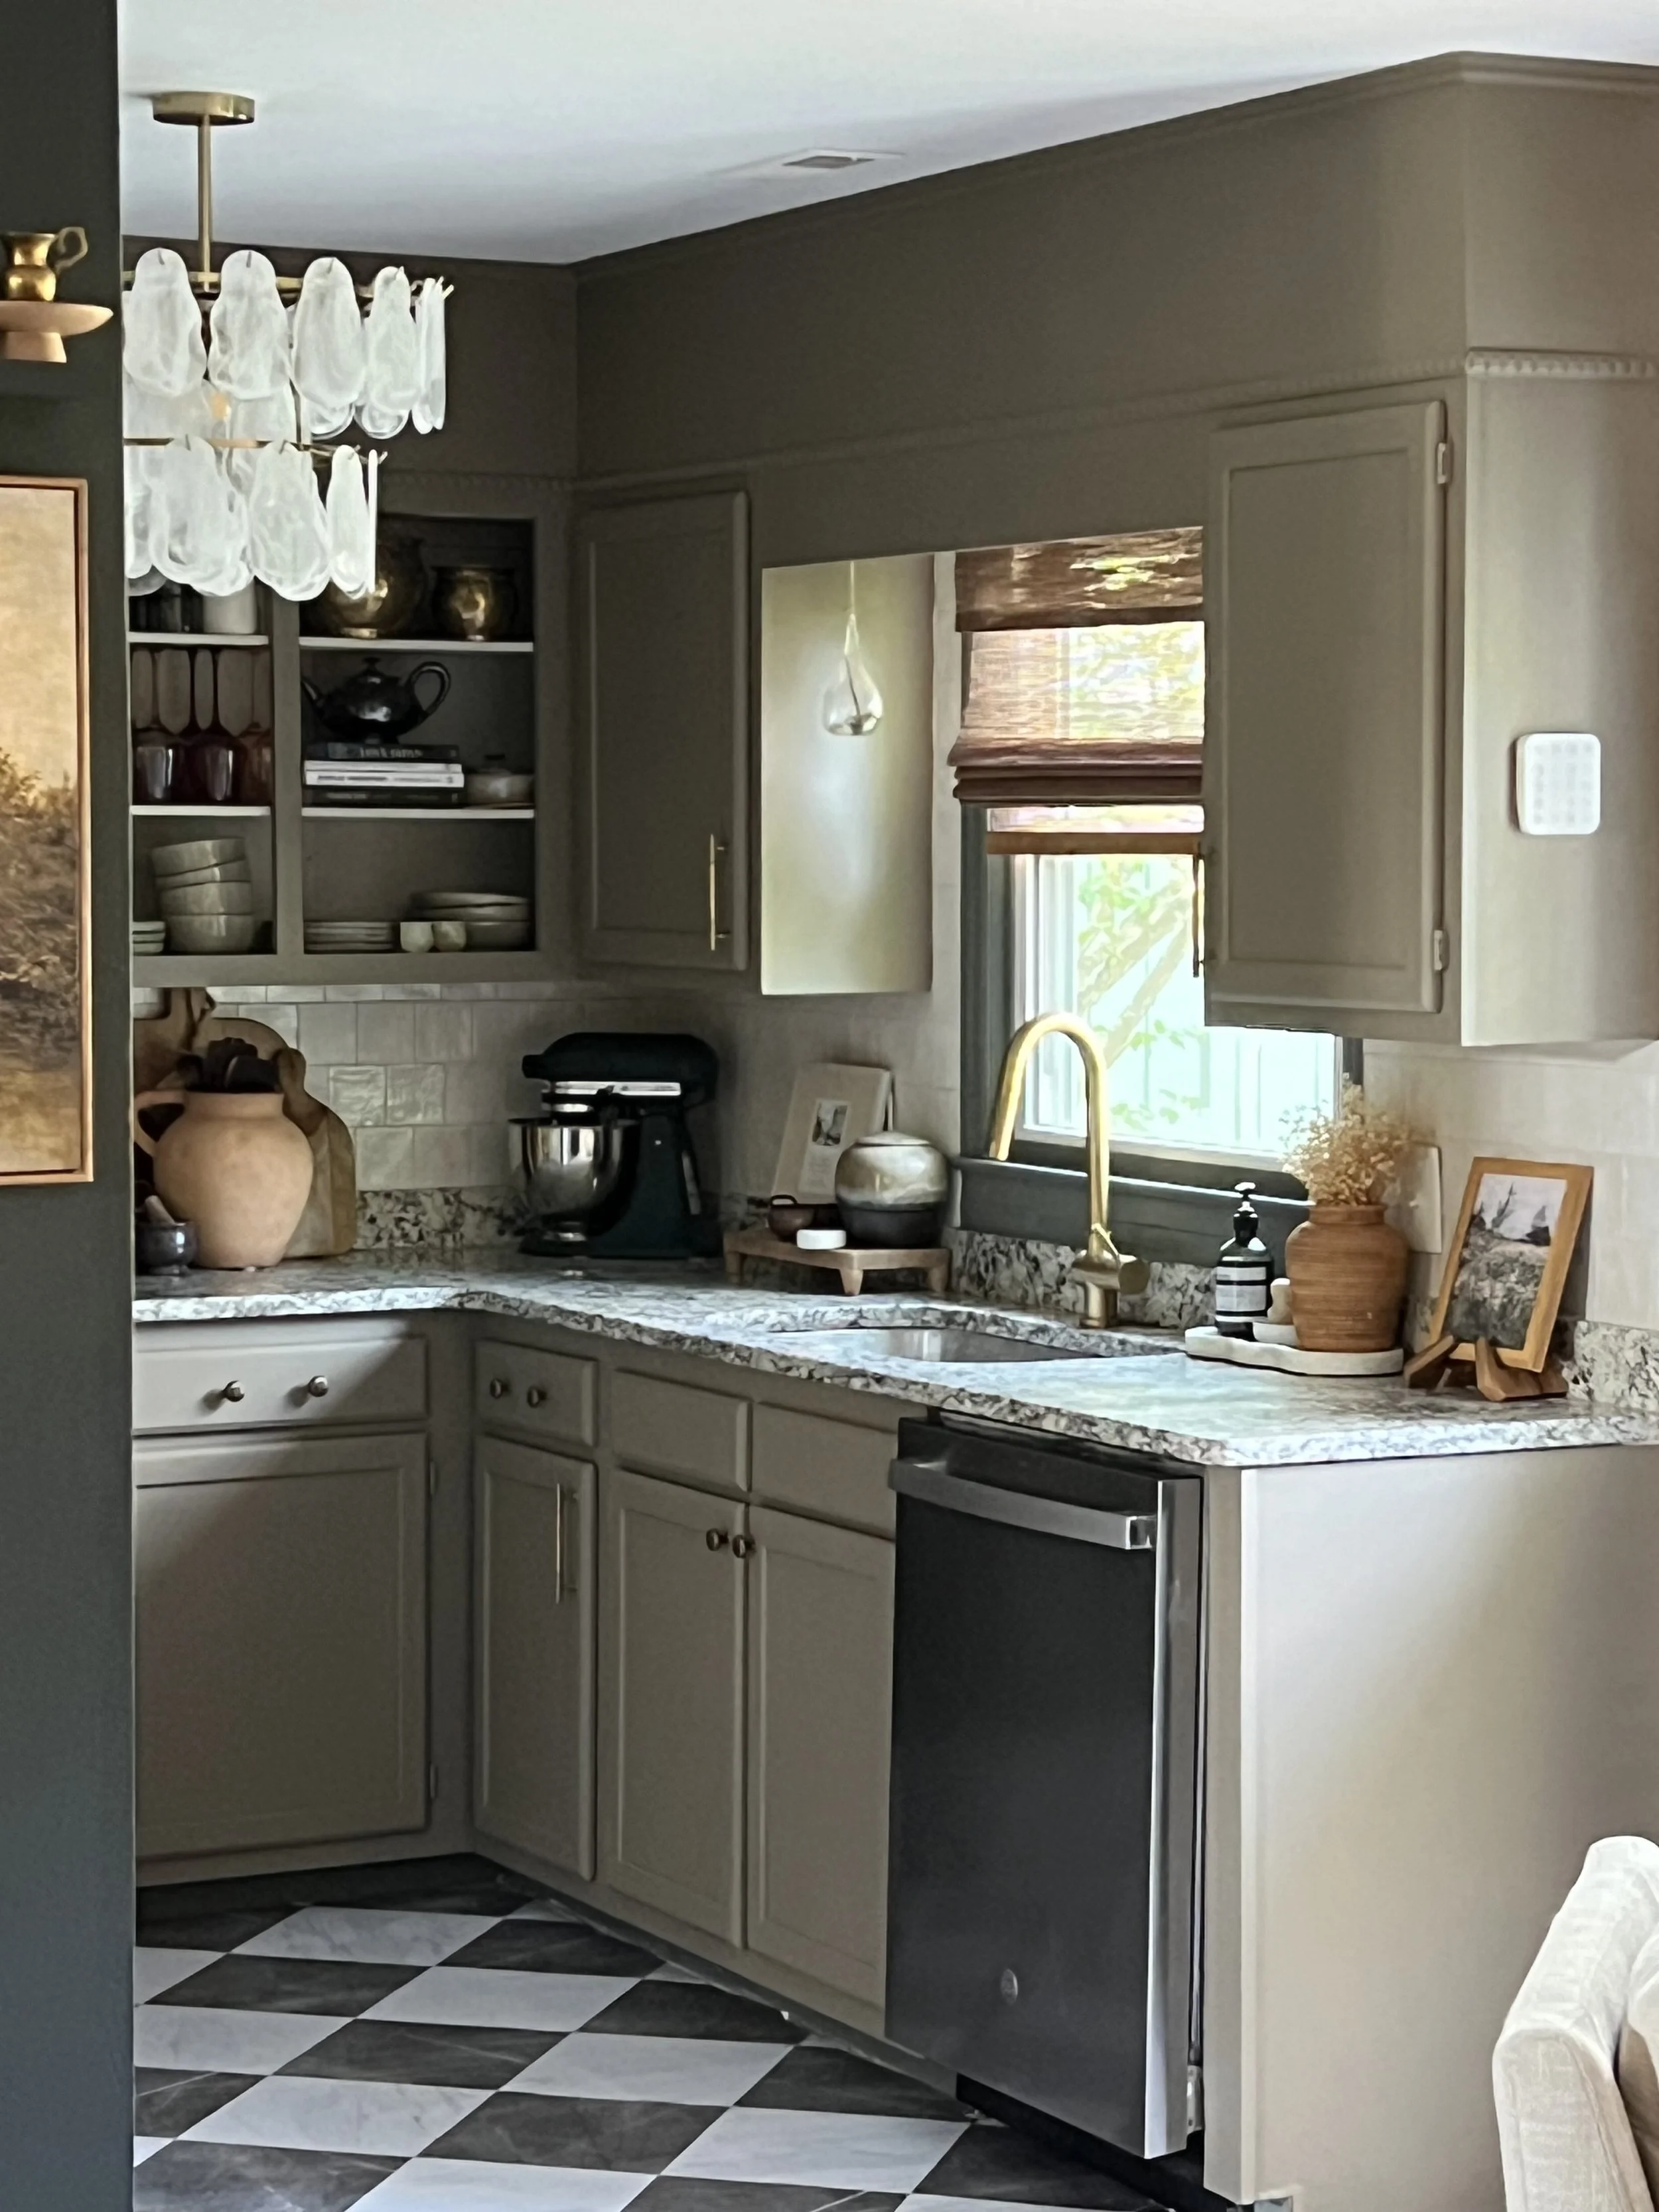
How I Saved $3K on Tile and Fell in Love with Peel-and-Stick: The "Temporary" Fix That I’m not rushing to replace.
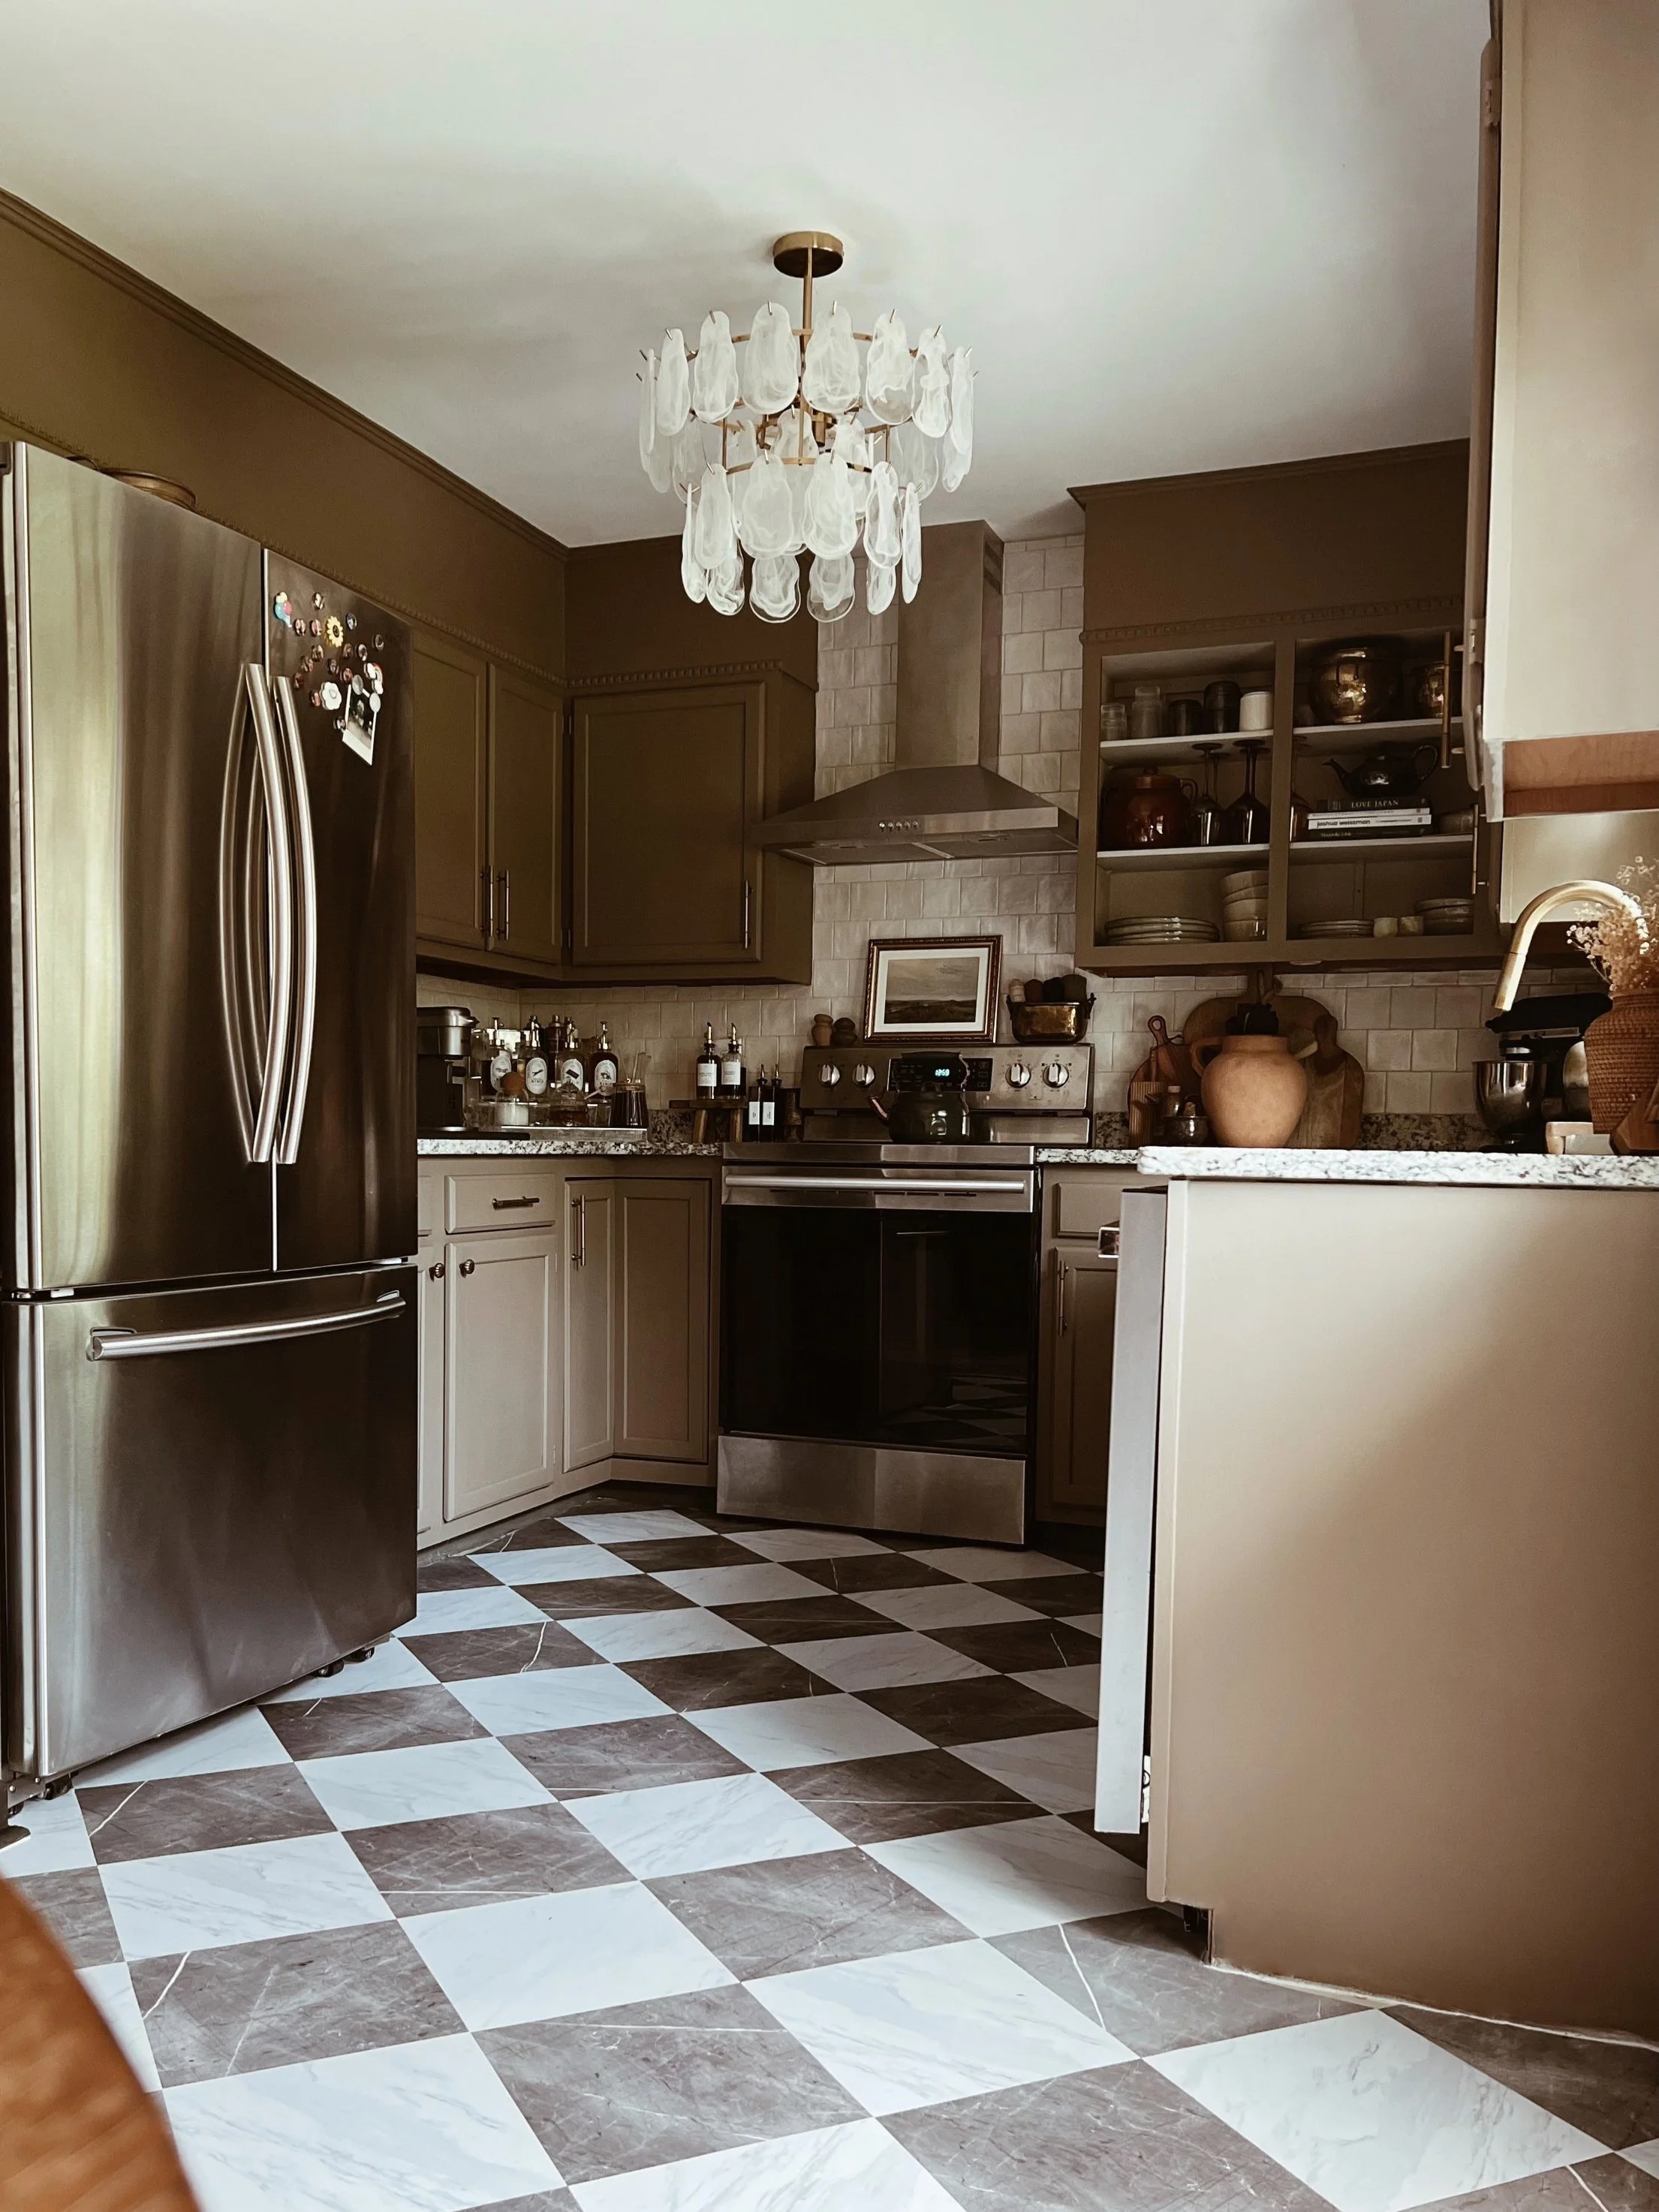
Ignore my missing baseboard. I was too excited and needed a photo right away! 😂
So, I’ve been drooling over a specific designer tile for months—ya know, the one that costs more than a weekend getaway. But let’s be real: dropping three grand on tile just wasn’t in the budget, especially when my current financial situation screams more “DIY” than “high-end renovation.” Enter peel-and-stick tile, the hero I didn’t know I needed.
It all started innocently enough. I needed a quick, cheap fix to hold me over until I could afford the real deal. Something to cover that hideous flooring that’s been haunting my dreams since I moved in. Peel-and-stick seemed like the perfect solution: easy to apply, affordable, and no commitment. Just a few dollars per square foot, and I’d have something that looked half-decent until my bank account recovered from the holidays (and, let’s be honest, the pandemic).
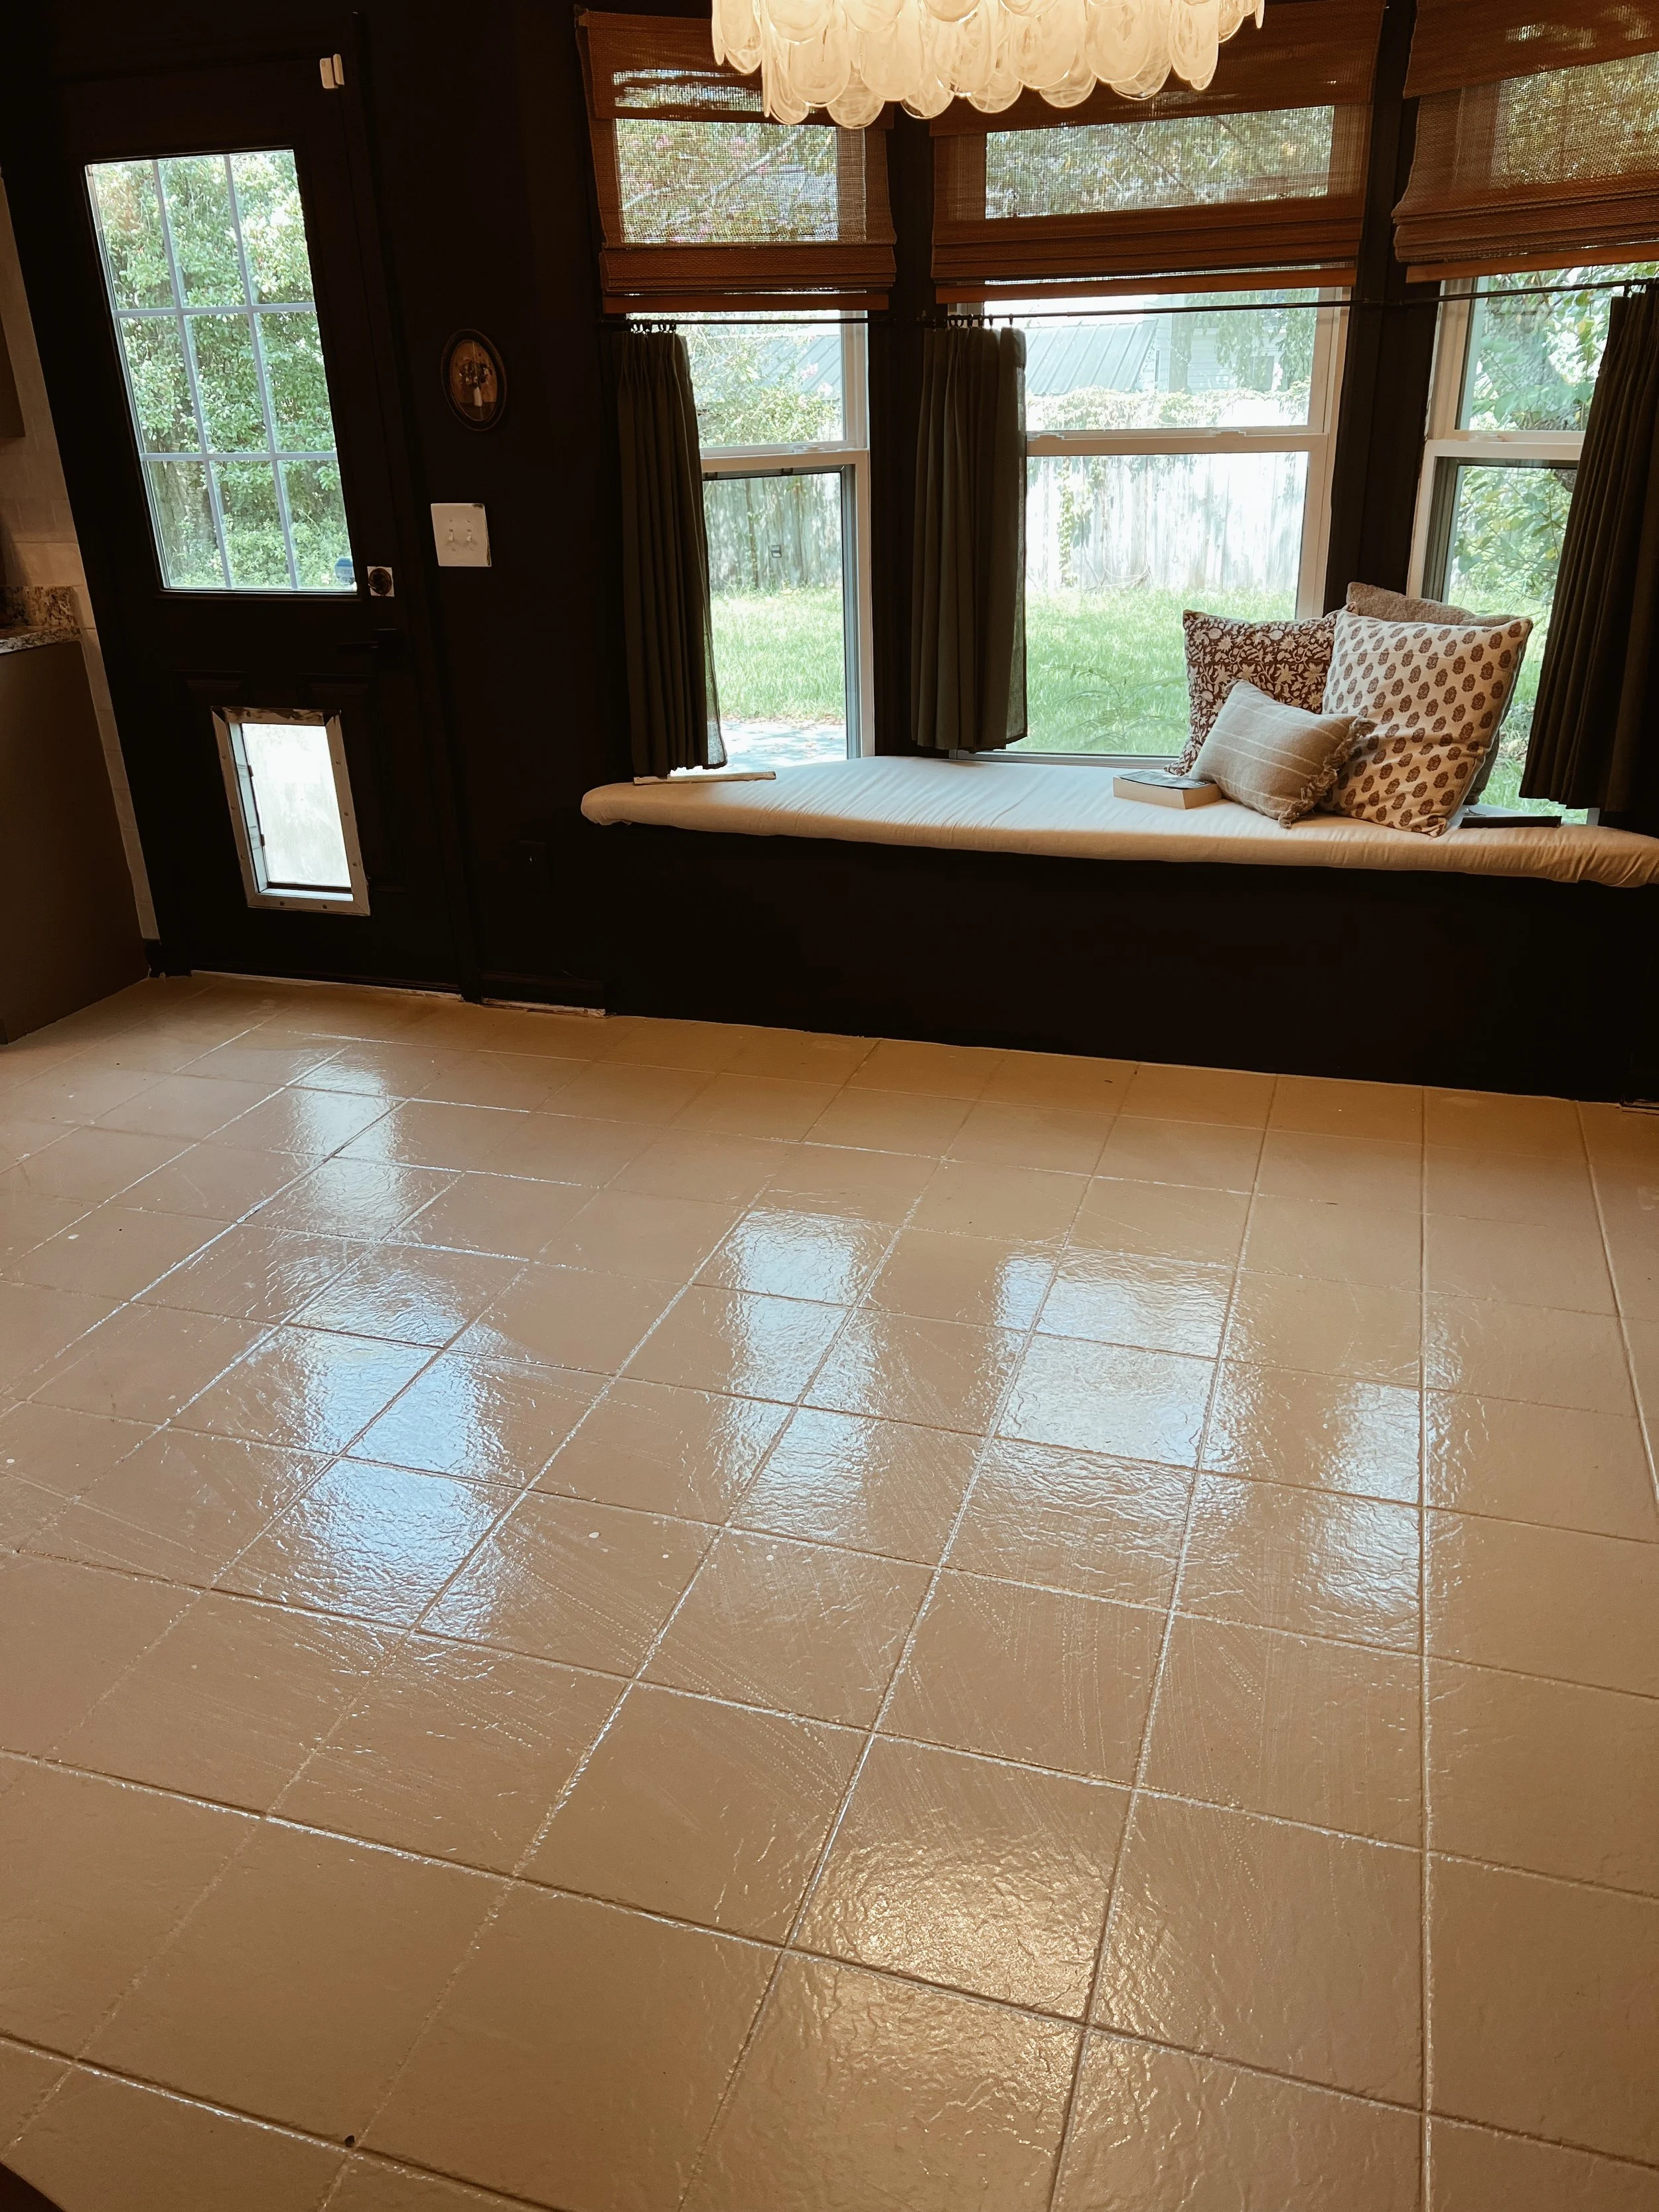
CLEAN THOSE FLOORS, CINDERELLA 👠
Sweeping and mopping my Rust-Oleum coated floors to remove all the grime, oil, and debris. This step is crucial to ensure the tiles adhesive properties bonds to your existing flooring.
When “Temporary” Becomes the New Normal
I slapped those faux tiles on the kitchen floor, fully expecting to be ripping them down within a year. But then something strange happened—I didn’t hate them. In fact, I kind of liked them. No, scratch that—I LOVED them. They added a pop of personality to my space, and suddenly, that “temporary” fix didn’t feel so temporary anymore.
Of course, I still fantasize about that gorgeous, expensive tile I’ve pinned a million times on Pinterest, but when I look at my peel-and-stick masterpiece, I’m not in such a hurry to drop three grand on something that might chip, crack, or stain (because let’s be honest, I’m not going to suddenly become a neat freak just because I have fancy tile).
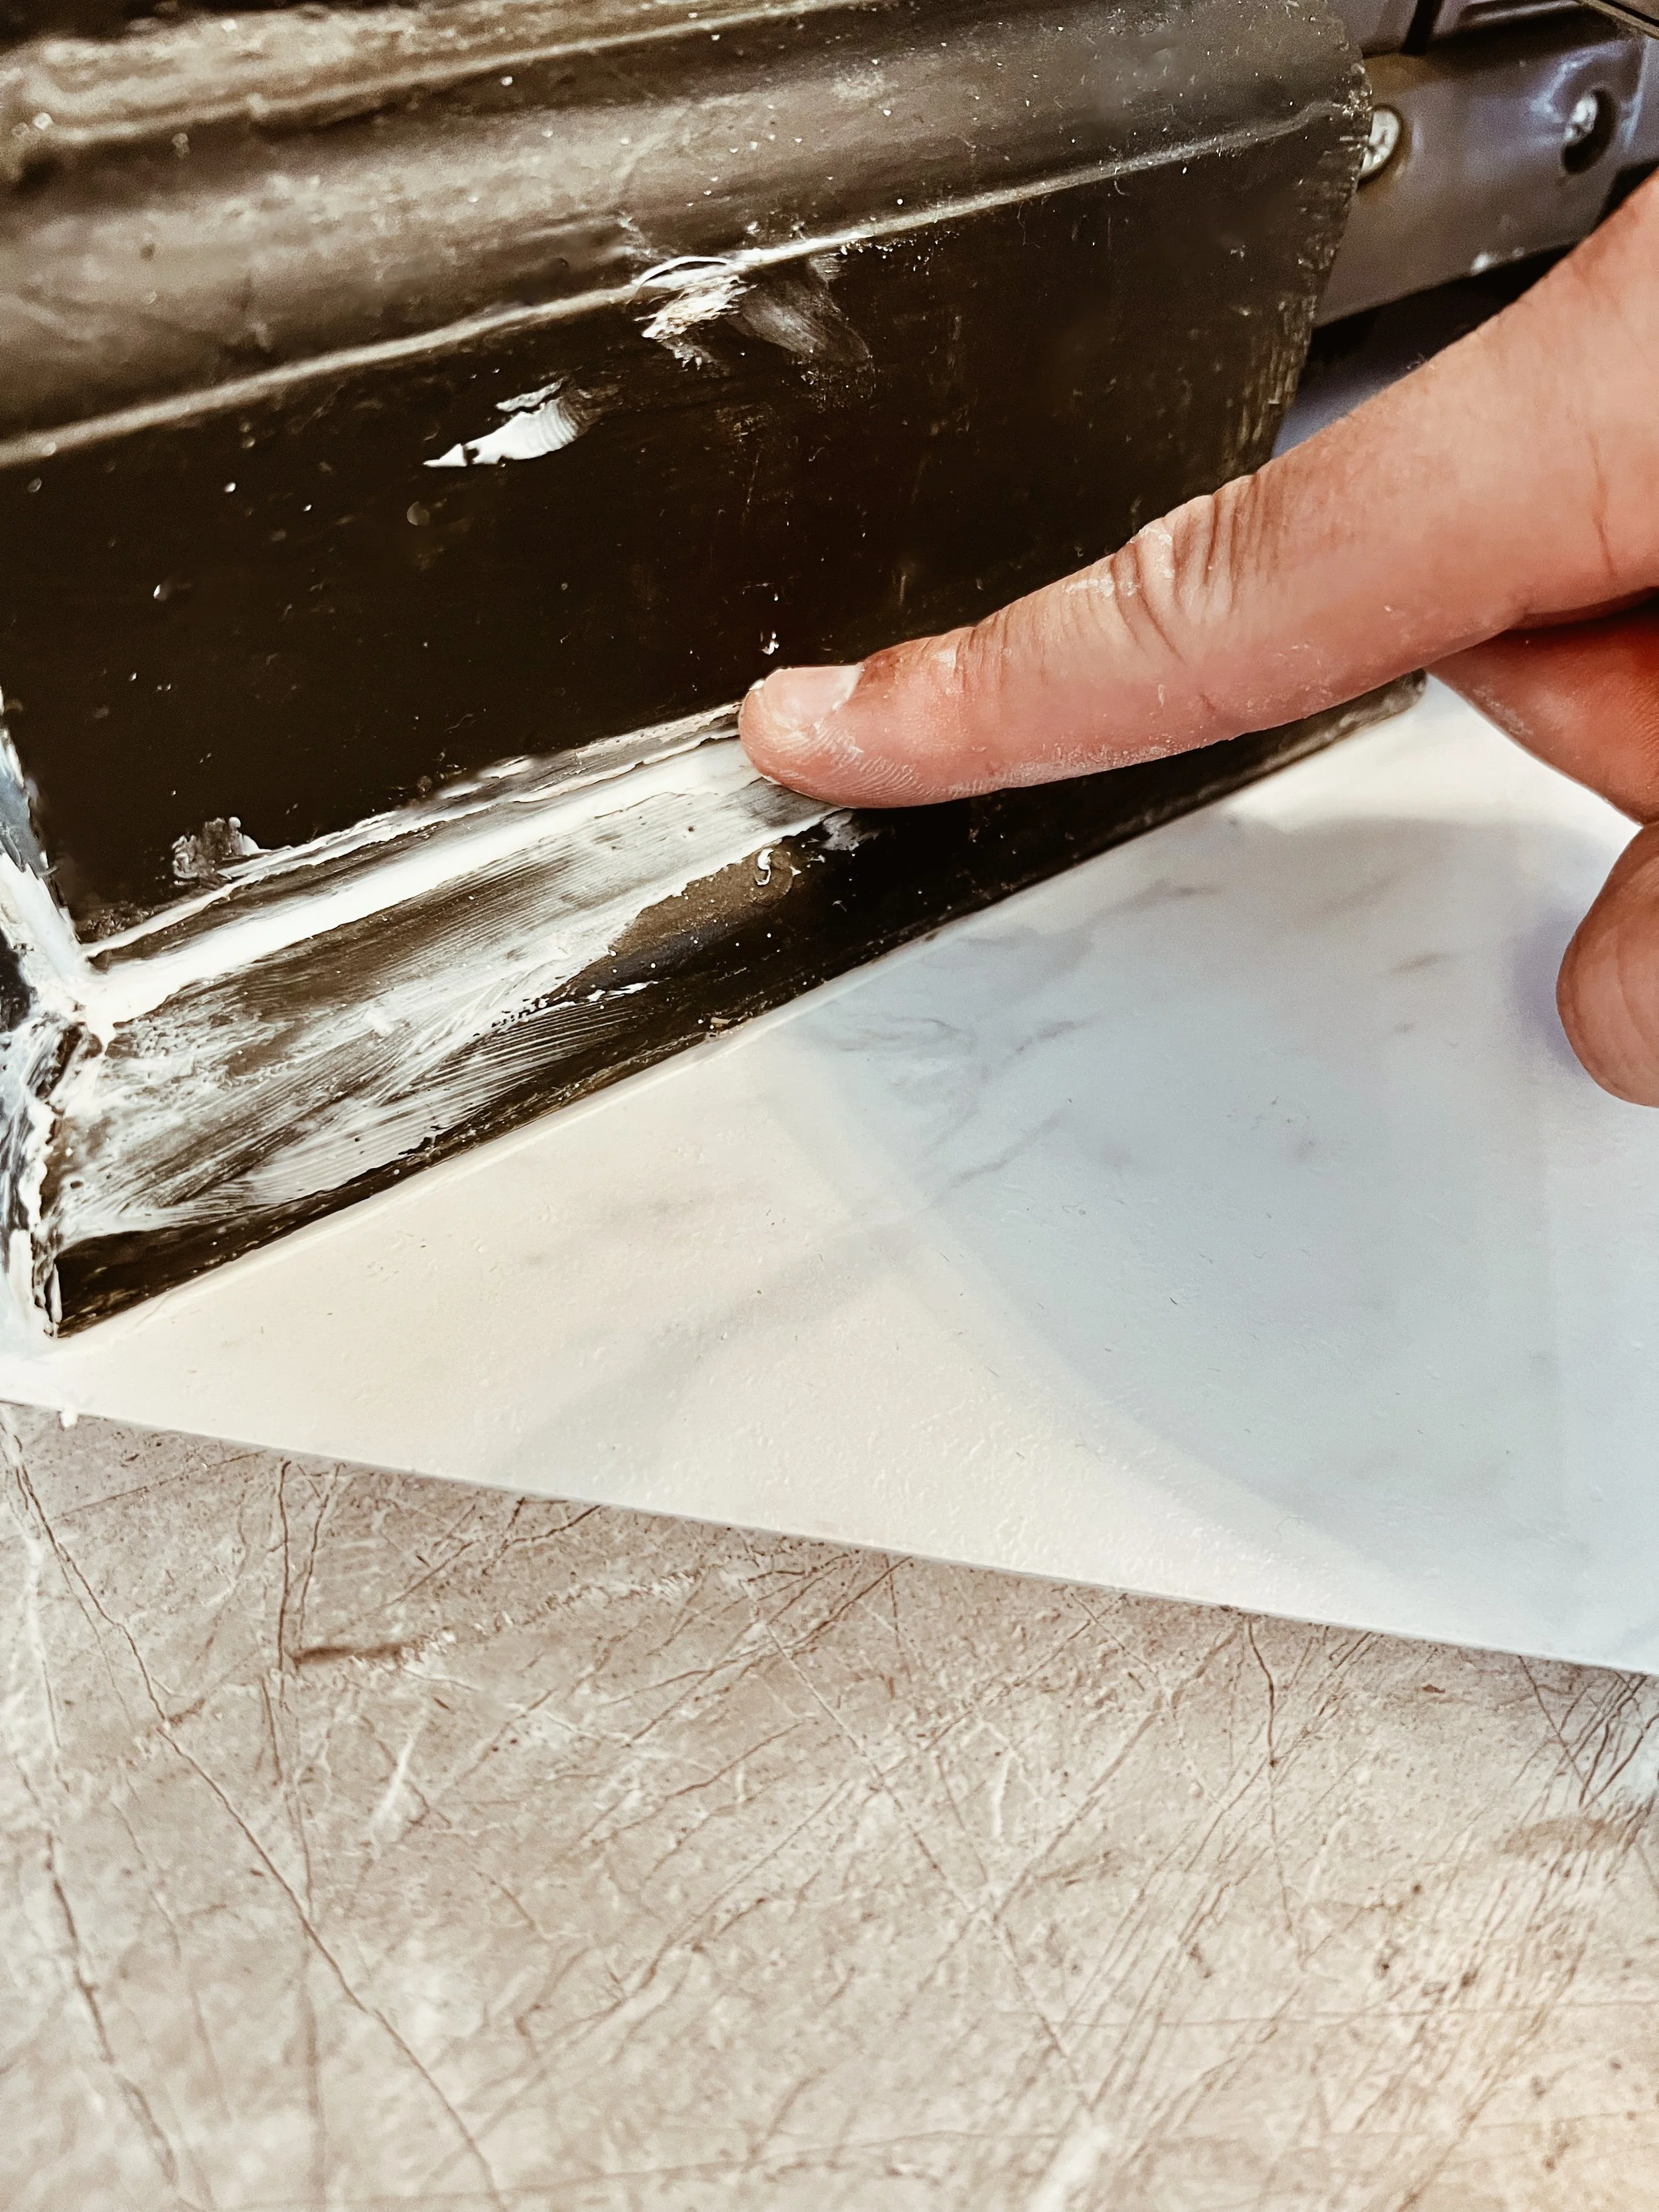
I suggest removing the baseboards and quarter round, then installing the tile up to the edge of the wall. This approach creates a seamless, unified look.
Who Knew Cheap Could Look This Good?
Turns out, peel-and-stick isn’t just for renters and dorm rooms. When done right (and yes, that means actually reading the instructions), it can look pretty damn good. The best part? No one has to know it didn’t cost me a small fortune. Friends will come over and compliment my “tile,” and I’ll just smile and say, “Oh, thanks! I did it myself.” Let them think I spent hours laying grout—they don’t need to know it only took me an afternoon with a utility knife and a ruler.
Do I Even Want the Real Thing Anymore?
Now that I’ve lived with my peel-and-stick for a while, the question arises: do I even want that dream tile anymore? Sure, it’s beautiful in theory, but is it worth the hassle of ripping down what I’ve got, spending thousands, and then dealing with the inevitable stress of installation (because, let’s face it, nothing ever goes smoothly with these projects)?
Maybe it’s time to admit that my budget-friendly fix isn’t just “good enough”—it might actually be better. After all, when something looks this good and costs so little, what’s the rush to upgrade? I might just keep my peel-and-stick for the long haul, pocket that three grand, and spend it on something else—like a vacation, or a kitchen gadget I’ll use exactly once.
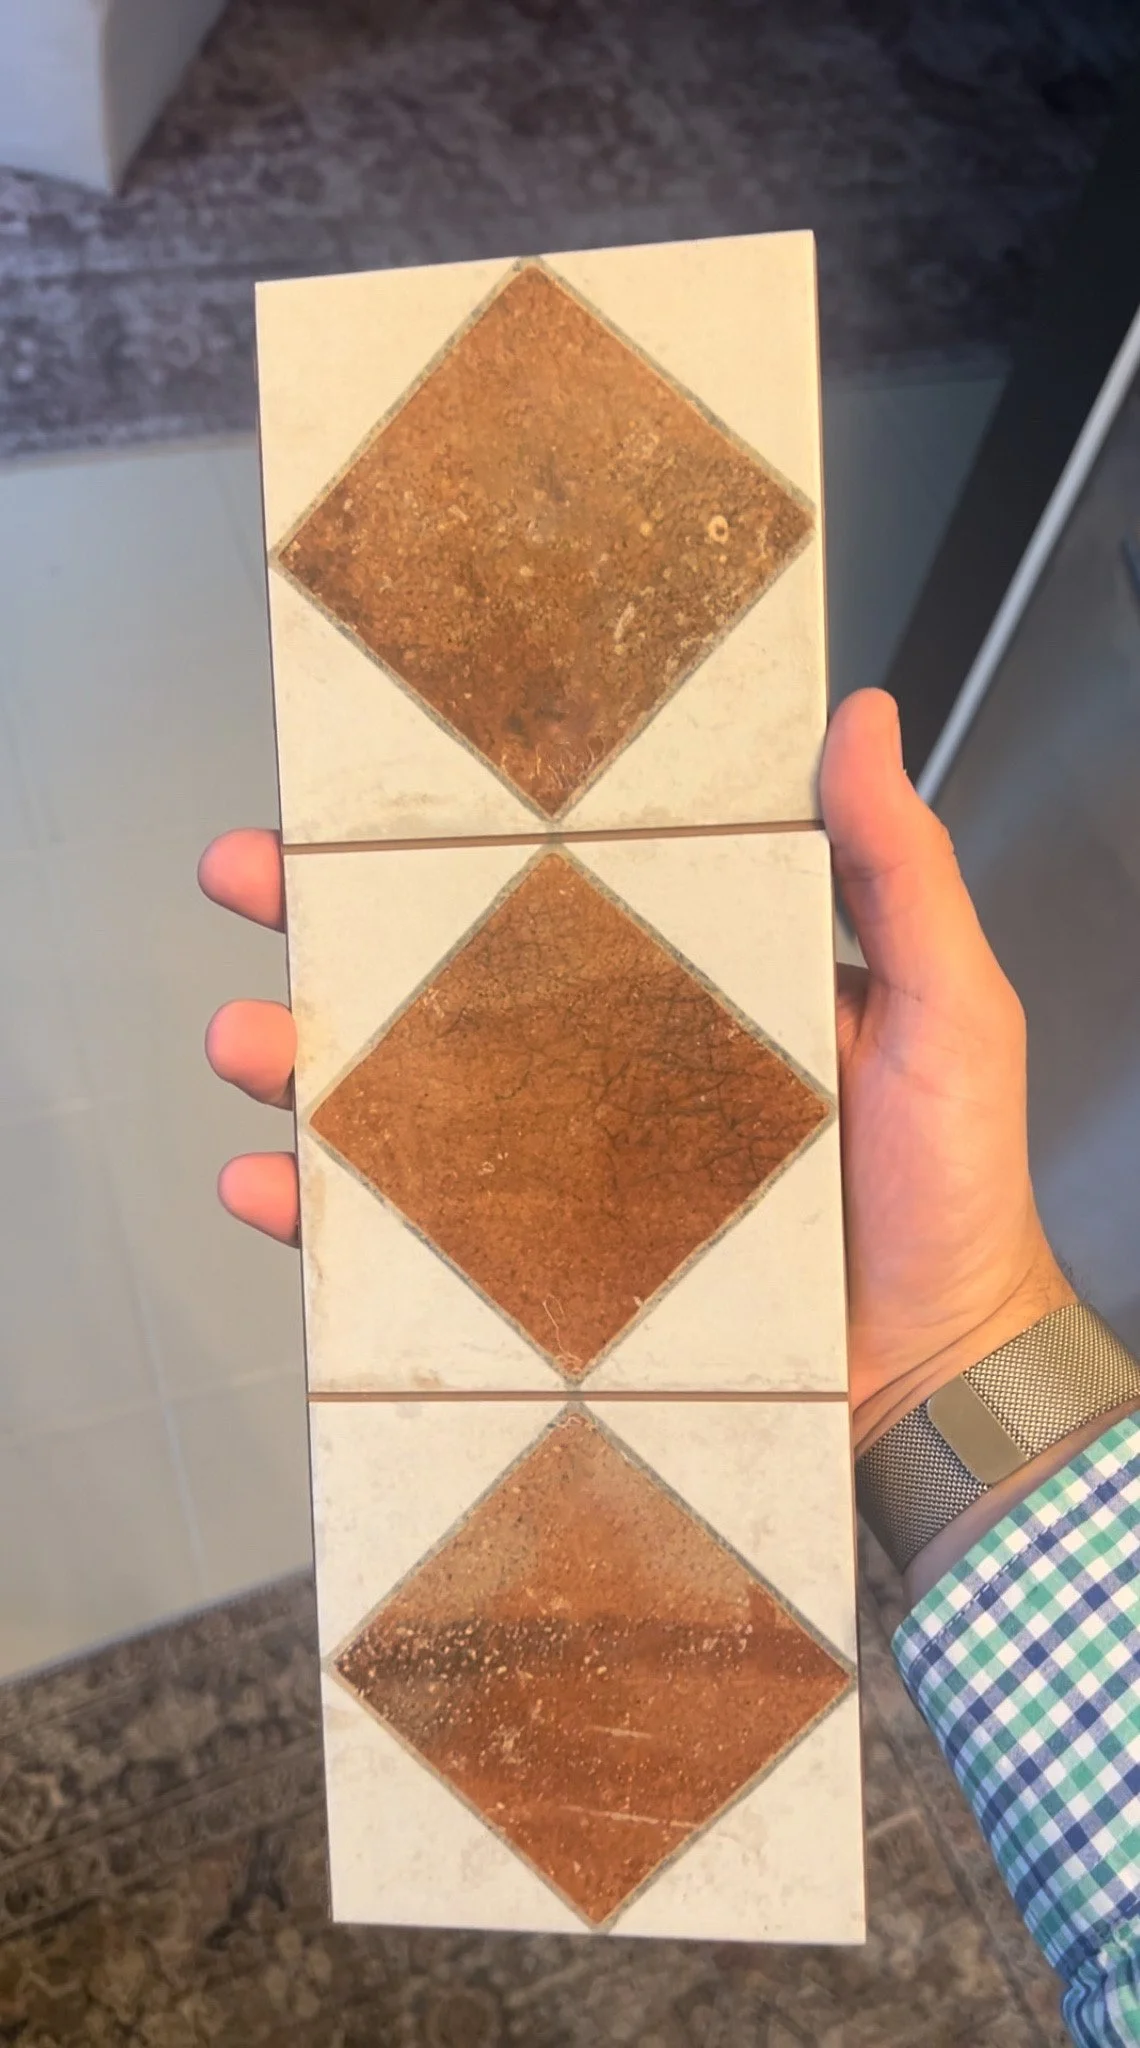
(Don’t tell Caleb that this 4x13 sample was $19.49 plus shipping and handling.) Thanks! 🤫
Embrace the Peel-and-Stick Life
So here’s the truth: peel-and-stick tile might have started as a budget-friendly band-aid, but it’s quickly become the star of the show. Why spend a fortune when I’ve got something that looks this good? Peel-and-stick is the home renovation equivalent of fake it ‘til you make it—and sometimes, faking it turns out even better than the real thing.
What I Used
Linkable products -
+ FloorPops X Chris Loves Julia Tiles - Home Depot
+ Dap Paintable Silicone Caulk - Lowe’s
+ Victor Straight Edge Cutting Ruler - Amazon
+ Utility Knife - Amazon
